Tokengates
What is Tokengating?
Token gating in blockchain technology restricts access to specific features, functions, or services within a decentralized network, requiring users to own a certain tokens. This mechanism creates exclusive ecosystems where access to privileges or resources is gated by token ownership
Step1 : How to Create Tokengate
1.By clicking on Create Tokengate or NewTokengate button, a popup for creating token gating will appear. You'll need to provide the following parameters to create token gating:
-
Toggle - We can activate or deactivate the gating by enabling or disabling the status toggle.
1.Active -The group is in active mode. 2.InActive-The gating group is in Inactive mode. -
Tokengate Name - Name of the gating
-
Description (optional)-details of gating; this is optional only
-
Tokengate Type - Choose between API Based, Contract Based, or Contract and API Based.
 1.API Based -The gating group supports only Mojito's internal APIs
 2.Contract Based - The gating group supported only by token gating contracts.
 3.Contract_API Based - This type supports both API and token-gating contracts.
1.API Based - For API Based gating, no approval request is needed, and the gating is created using APIs.
2.Contract Based - If we create gating with Contract based token type,It will show the Request Approval button and gating will create in token gating contract
i) Once tapping on request approval button , it will show requested status
ii) We can see the status in the token gating contract from the blockchain
iii)After a few minutes, the requested status will change to completed, and the gating will be created in the contract.
3.Contract and API Based - For Contract and API Based gating, you can request approval or skip the approval process. The gating can be created using either the API or contract.
- Network - Select the network on which you want to create the gating.
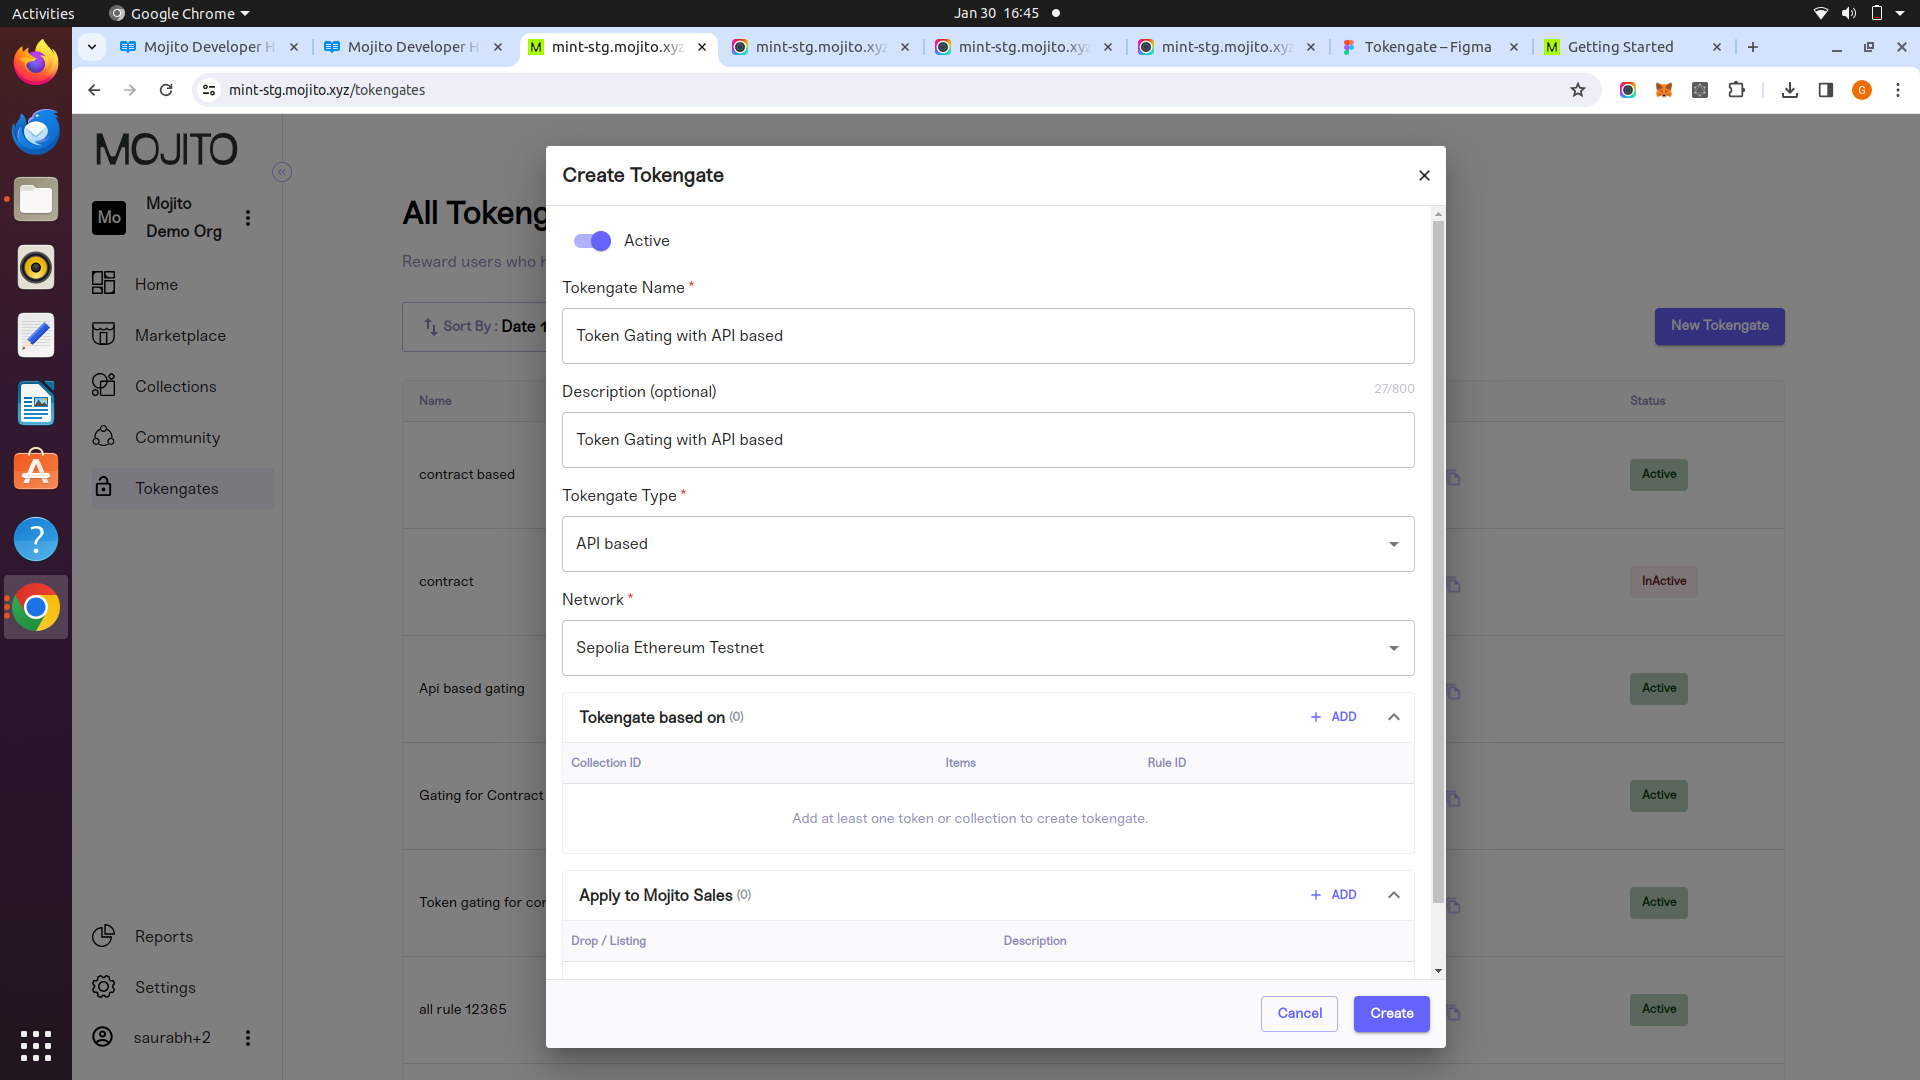
- Tokengating based on - By clicking on add button, it will open the collection list.

-
Mojito handles 4 cases of gatings rules such as Contract Address, Contract Address with Token Id,Contract Address with meta data,Contract address with Token Id and Meta data
   1.Contracts Address:-To validate owners' NFTs contain contract address in the rule.

   2.Contract Address with Token ID:->To validate owners' NFTs contain the contract
address and token id in the rule.

   3.ContractAddressWithMetaData:->To validate the owner's NFTs contain the given contract
 address with metadata key exists.

   4.ContractAddressWithTokenIDAndMetaData:->To validate the owner's NFTs contain the given
specific contract address with token ID as well metadata key exists or metadata updated or not
 check to validate.
   5.Meta data-> To validate Owner's Metadata details
1.Token Tab- you can select internal collection created by mint and external token and after tapping on continue button it will show the details in create pop up
1.Collection Id- It will show the id of selection contract
2.Items- If a contract with a token id is selected, it will show the token Id. If a contract is selected without a token, it will show as infinity.
3.Rule Id - Once gating is created, the edit popup will show the rule id, and you can copy the id.
4.By clicking on delete icon, you can delete the selected contract

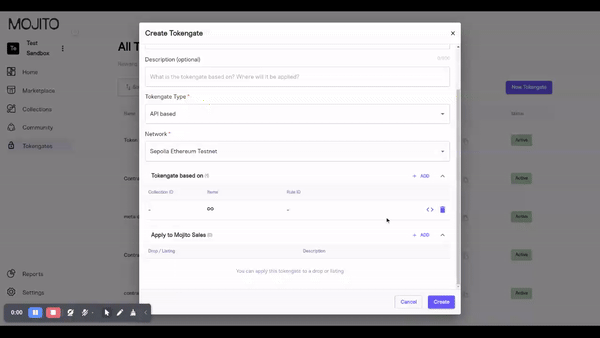
2.Metadata Tab- you can select contract addresses with metadata rules. After selecting a contract address, in the metadata field, you can enter the key and value.
Example: key -> triat_type , value->Claimed: key->trait_type,value->false
1.By clicking on X icon we have delete the entered meta data
2.By clicking on add field,you can add multiple meta data entries
3.once clicking on add collection by entering meta data it will show the <> icon in create pop up
when clicking on <> icon it will the meta data details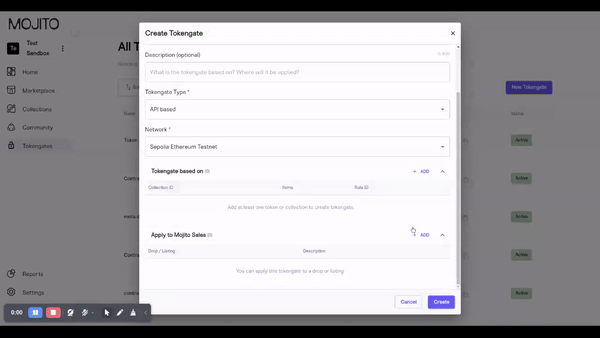
- Apply to Mojito sales - By clicking on add button it will show the drop details
1.You can select one or multiple listings, and once clicking on add drop or listing button, listing
details will show in create pop up
2.By clicking on delete icon we can delete selected listing
3.Apply to mojito sales is a optional; you can create gating without selecting a drop.
Step 2 : Success Popup After Creating the Gating
Once the gating is created, a success popup will appear, displaying all the relevant details:
- Status, Type, and Description are shown to provide an overview of the gating's current setup.
- TokenGateBased On displays the details of the created gating contract and the Rule ID.
- Apply to Mojito Sales shows the details of the selected listings.
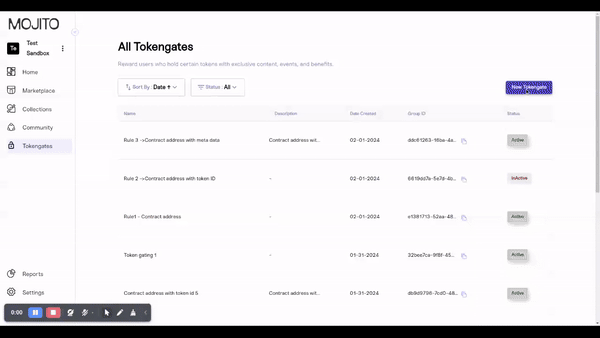
Rule 1 : Contract address
Rule 2 : Contract address with Token Id
Rule 3 : Contract address with Meta data
Rule 4 : Meta data
Rule 5: Contract address ,Token ID with Meta data
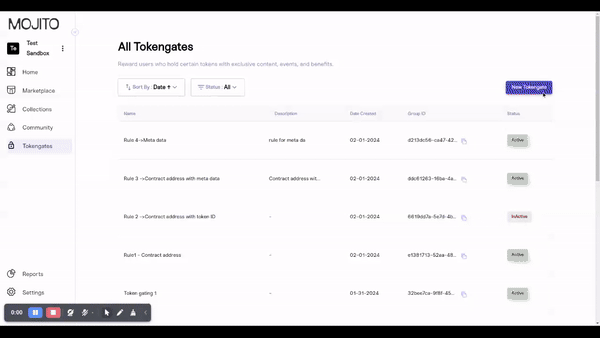
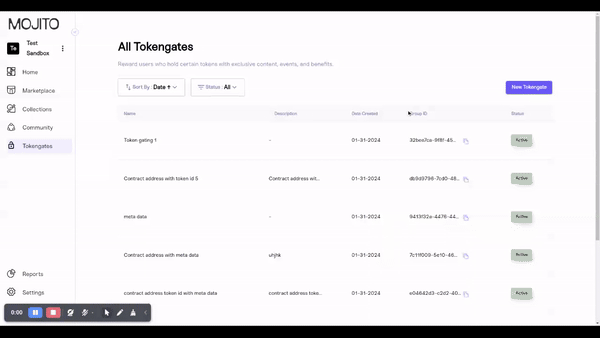
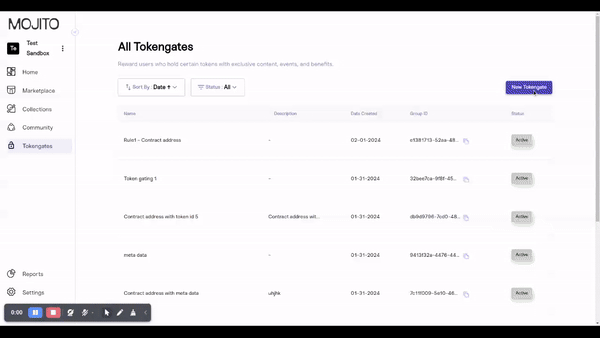
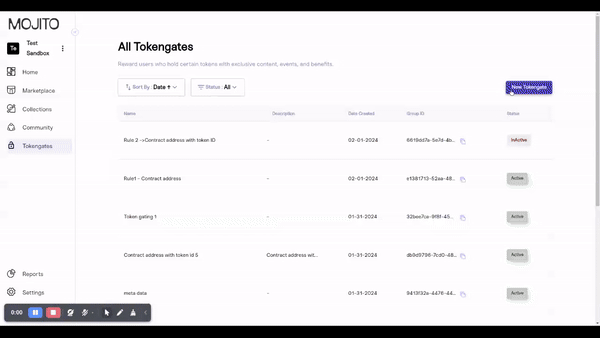
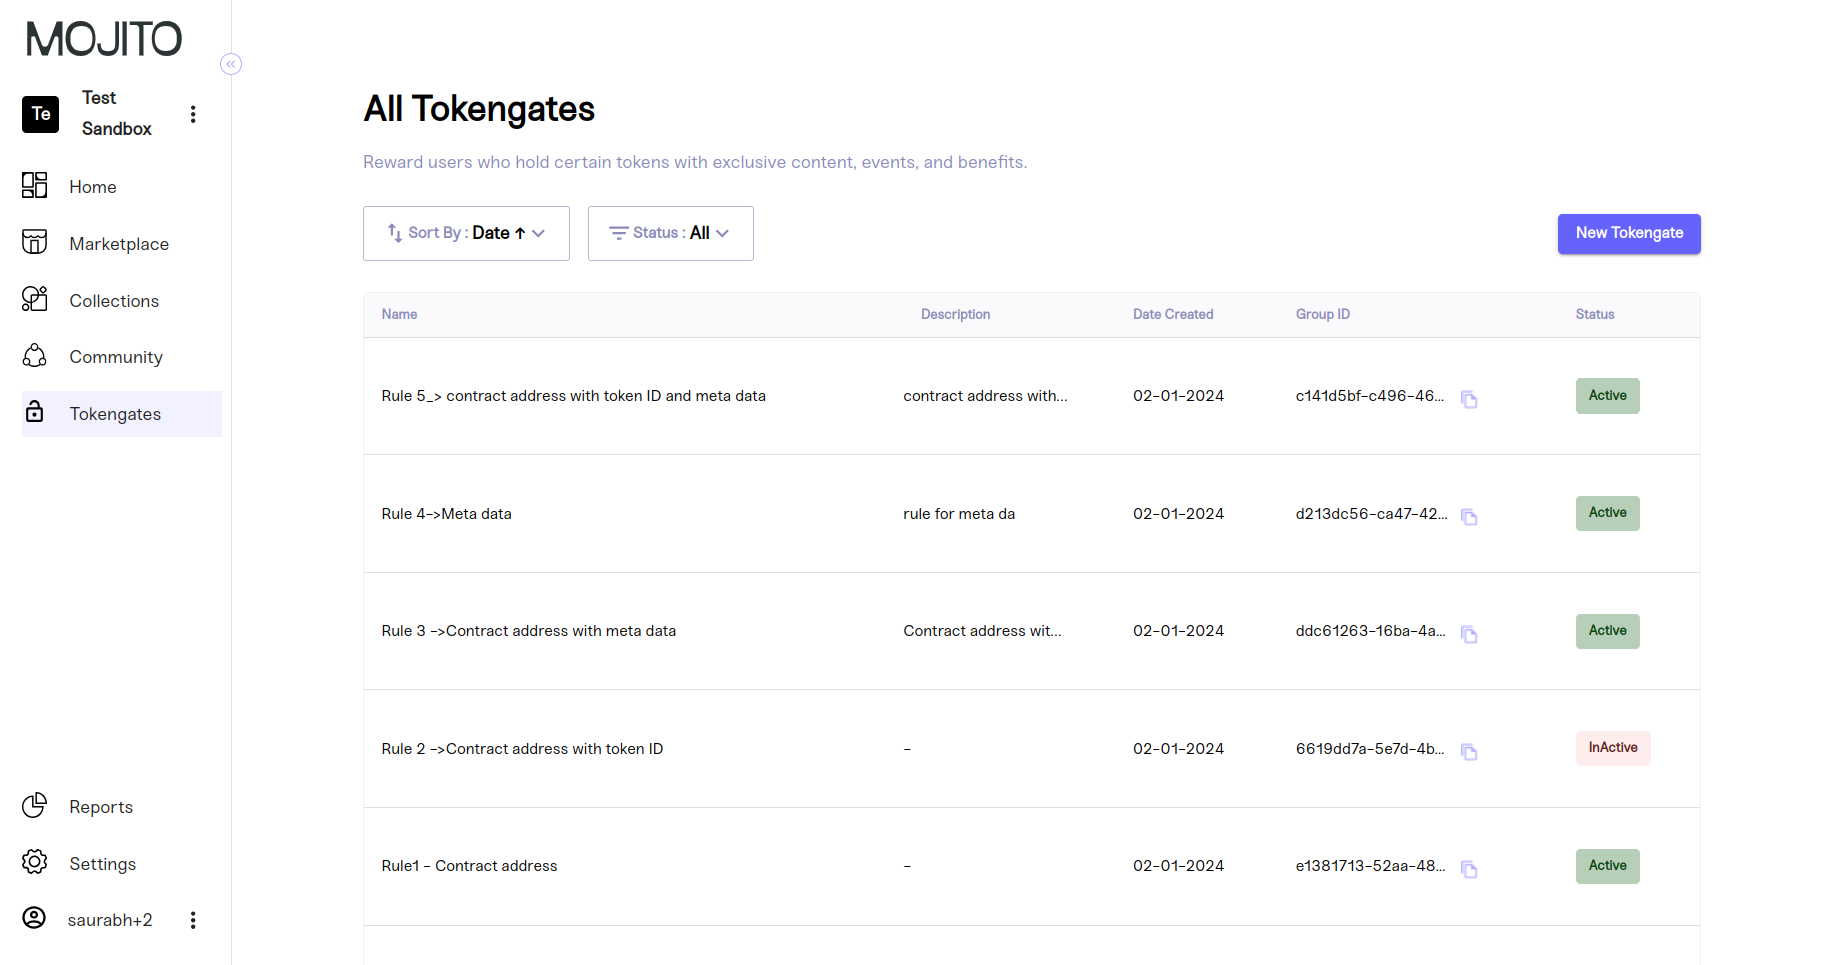
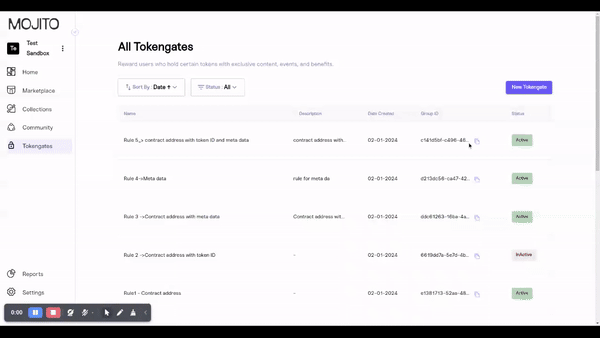
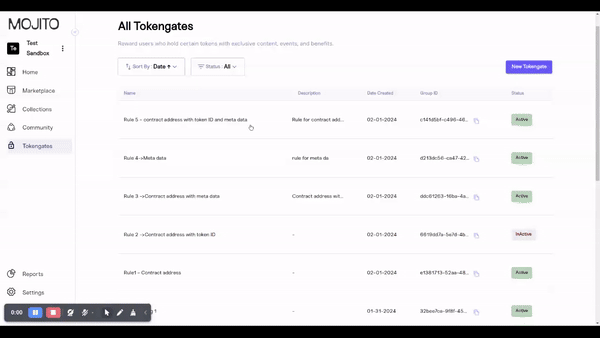
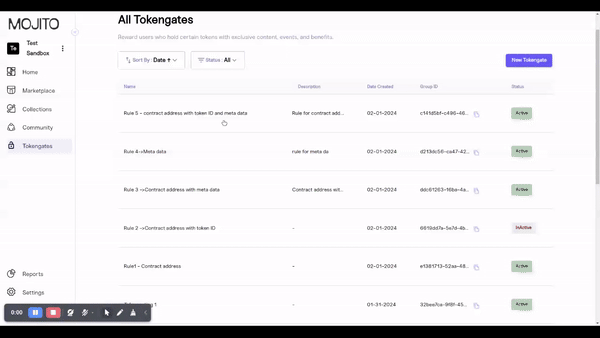
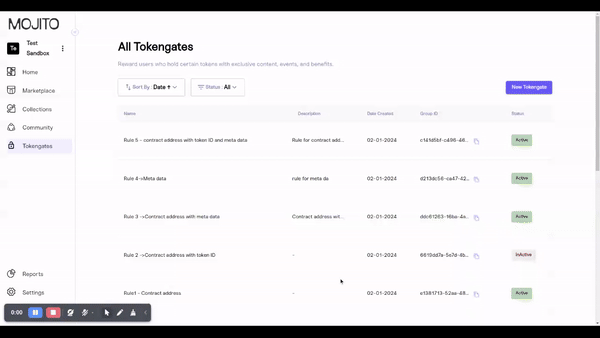
Step 3 :- Token Gating Global View Screen
After creating the gating, you will be redirected to the token gating screen. This screen displays details of the gating such as Name, Description, Gating Created, Group ID, and Active Status. You can sort the rules by selecting Date Ascending, Date Descending, Name A-Z, and Name Z-A. Filters are available to view All, Active, and Inactive rules.
Step 4 : Edit the created rules
By clicking on the group name, an edit popup will open, allowing you to make the following modifications:
- Details: Clicking the Edit icon opens a popup to edit the active status, name, and description of the gating.
- Token-Based: By clicking the Add button, you can add another rule, or by clicking Delete, you can remove an existing rule.
- Apply to Mojito Sales: By clicking the Add button, you can add more listings or delete selected listings by clicking the Delete icon.
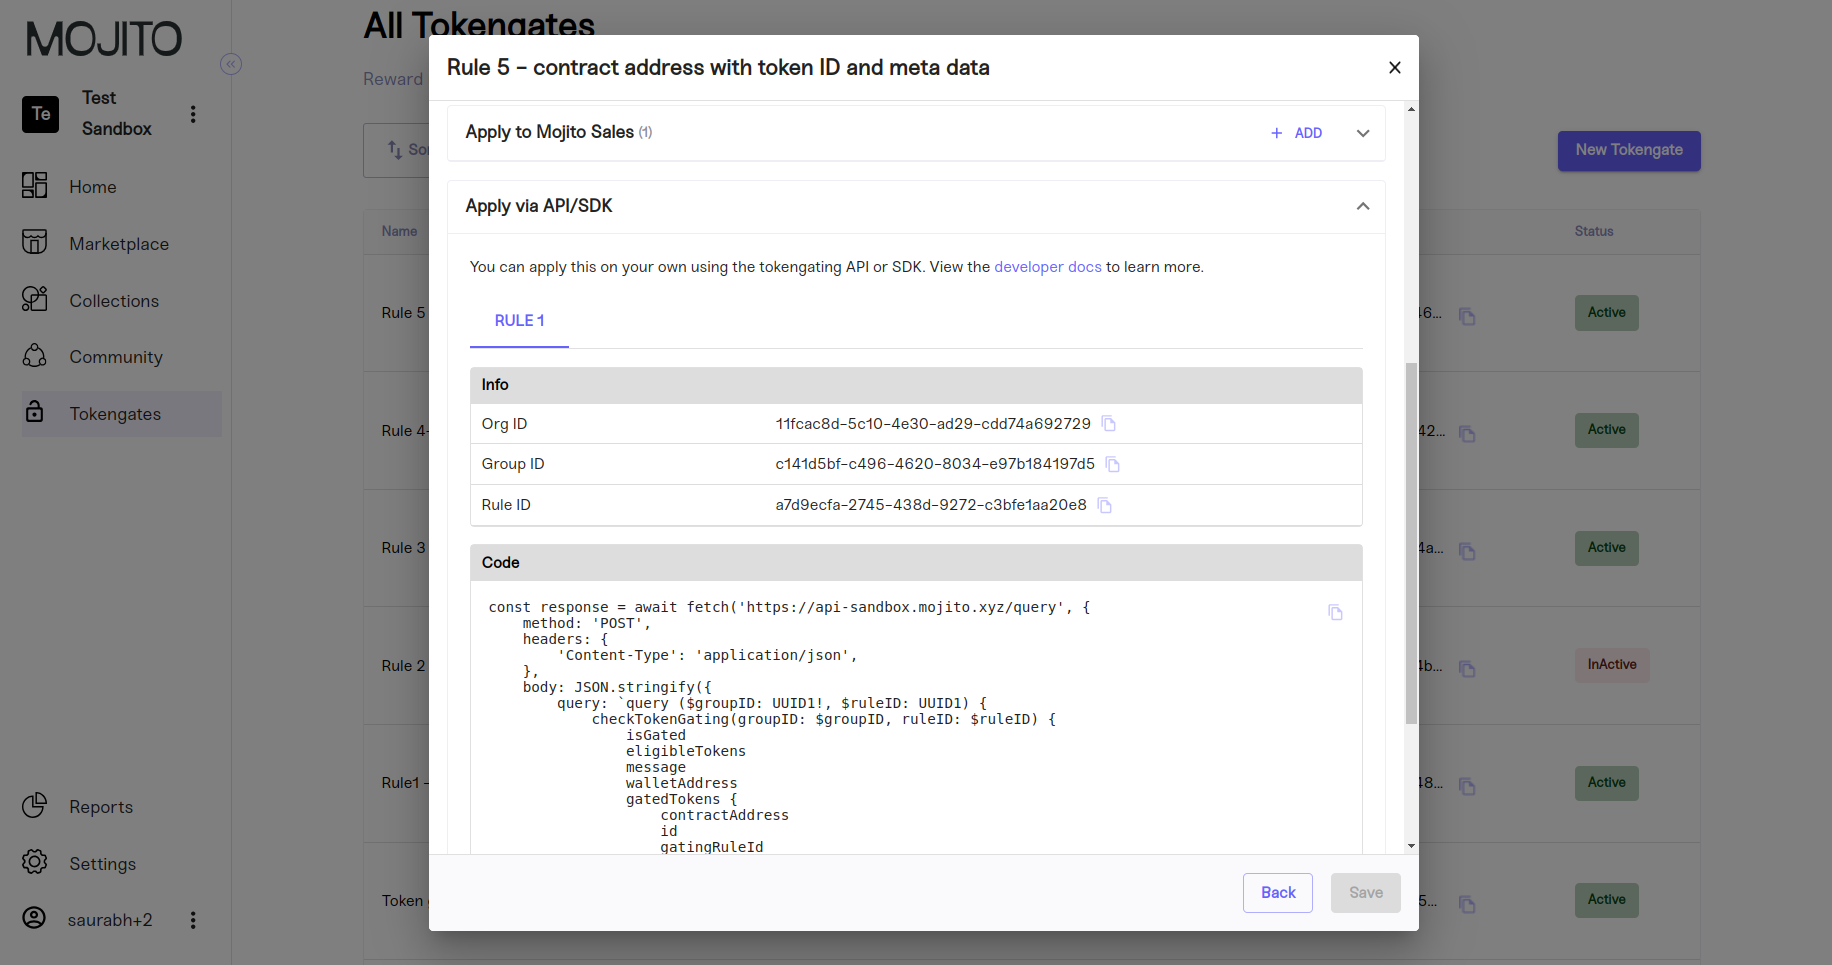
- Apply API/SDK: This section provides the Group ID, Rule ID, and Org ID for the created rule, and it offers an API for checking eligible tokens.
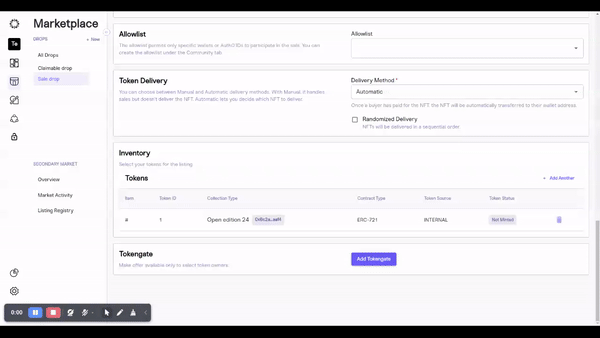
Step 5: Adding TokenGate from the Listing Screen
- Once listing created, add token gate button will be available in listing screen.
- By clicking on Add token gate button, it will opens the add token gating pop up
- By clicking on select we can map already created rule for listing or by tapping on new token gate button it will redirect to token gating screen we can create rule and use that rule for listing
- Once rule updated for listing edit and remove option for available fot token gating
- Edit Rule: You can update the rule as needed.
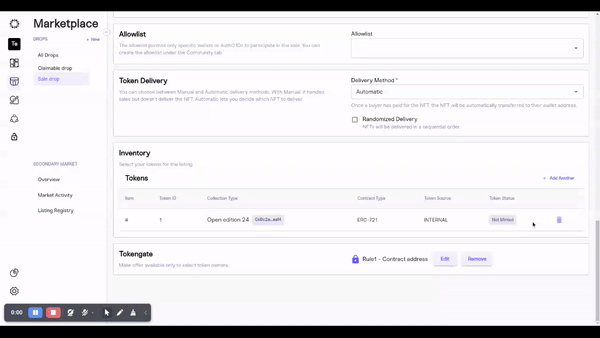
- Remove Rule: Selecting remove opens a confirmation popup, and confirming the action removes the selected rule, reverting to the option to add a token gate.
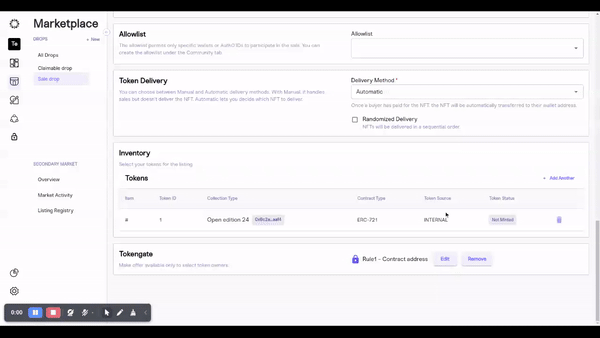
- If a rule is created via the listing screen, it is directly mapped to that listing. From the listing screen, you can then edit or remove the rule as needed.
Updated about 1 year ago