Admin - Payment link
Absolutely! Using Mint Portal can indeed simplify the process of creating payment links for your listings. Here's a step-by-step guide:
Step 1 Navigate to the left menu and tap on the payment link button.
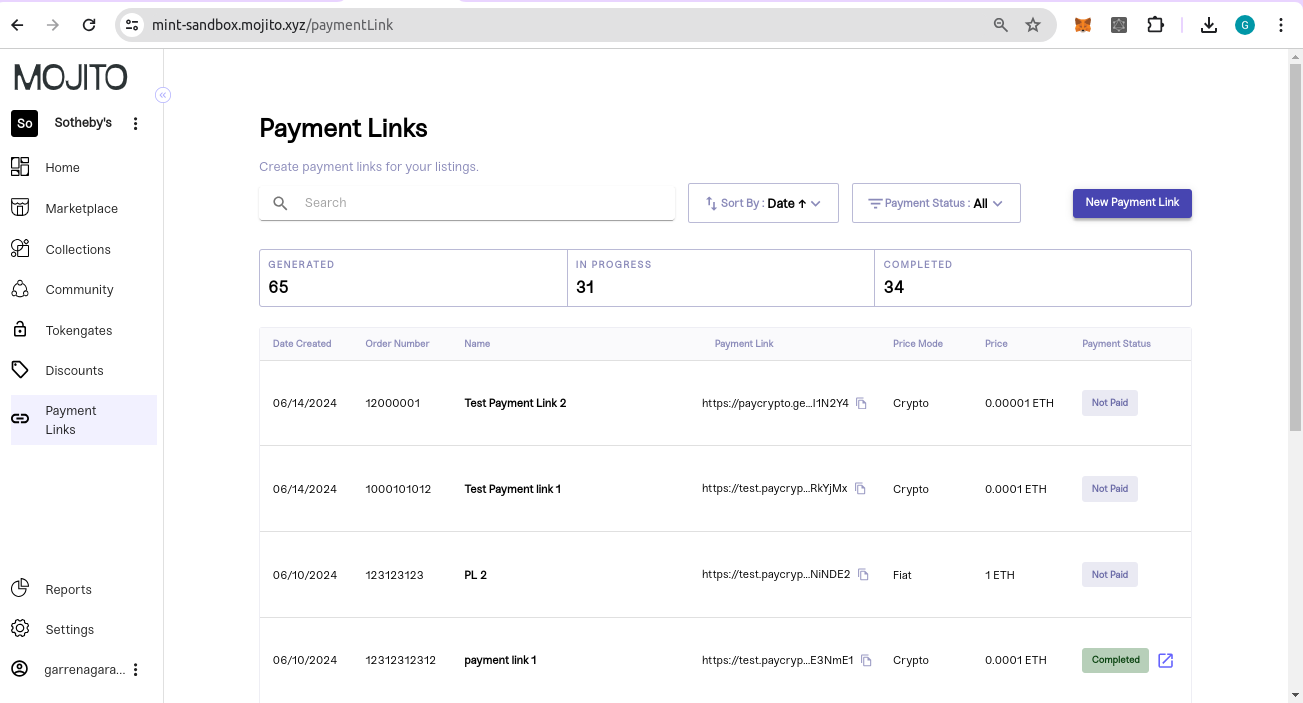
After tapping on the payment link, a list will be displayed showing all previously created payment links along with their current status.
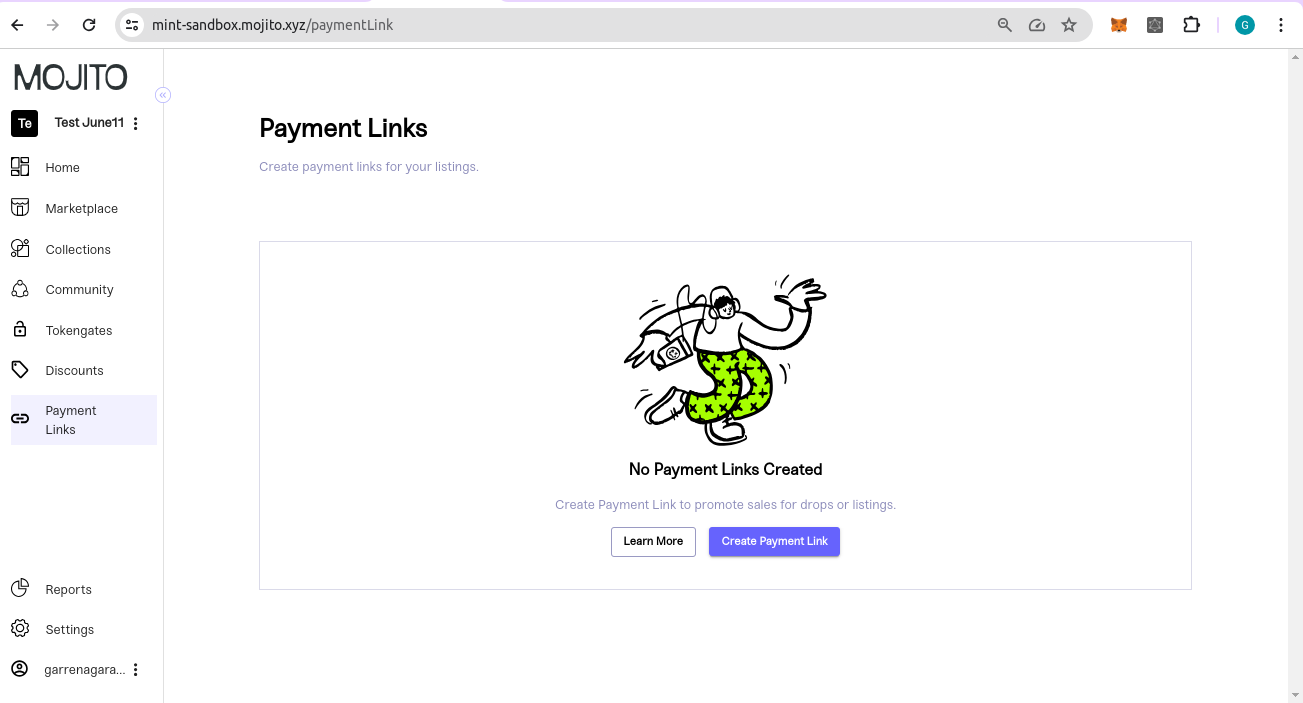
Step 2 Tap on 'Create Payment Link'/ 'New payment link A 'popup will appear where you can add all the information related to the payment link
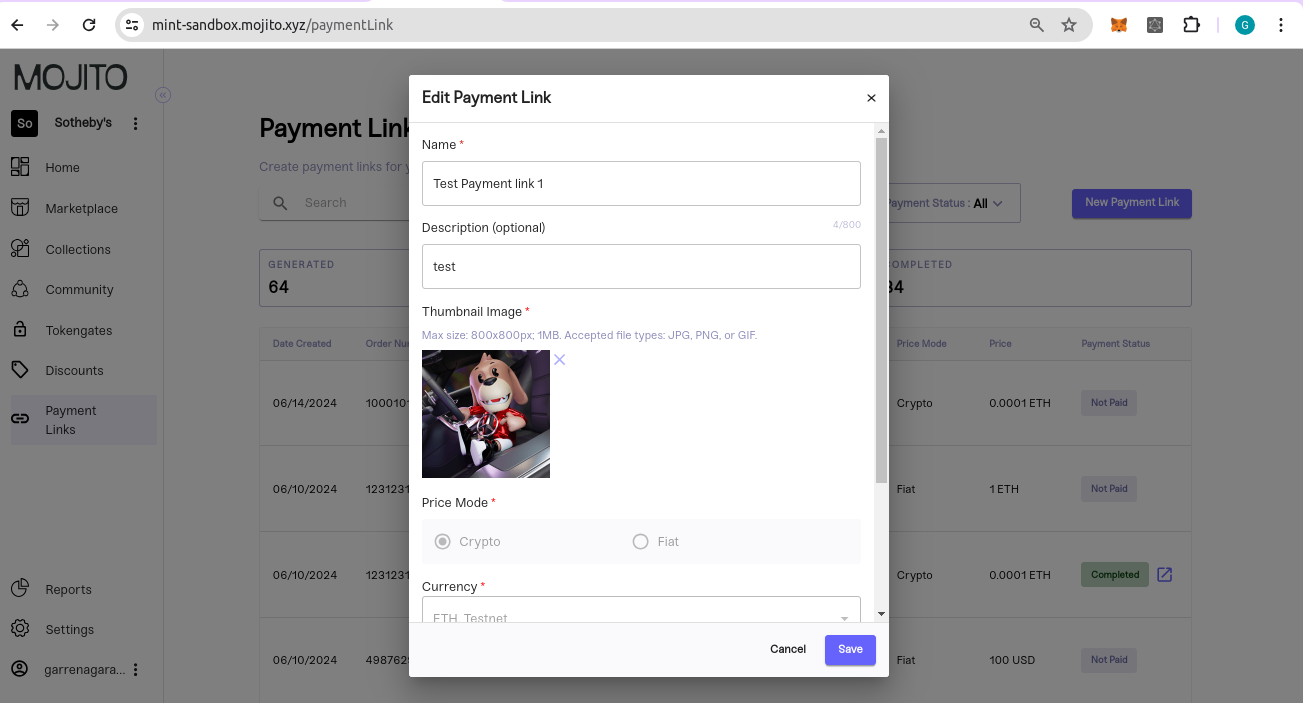
Name: This field allows you to specify a name for the payment link, which can help identify it easily among other payment links.
Description: Here, you can provide additional details about the payment or the product/service being offered. This can include specifications, features, or any other relevant information.
Thumbnail Image: This is an mandatory field where you can upload an image that represents the product or NFT associated with the payment link. It can help attract attention and provide visual context.
Max size: 800x800px; 1MB.
Accepted file types: JPG, PNG, or GIF.
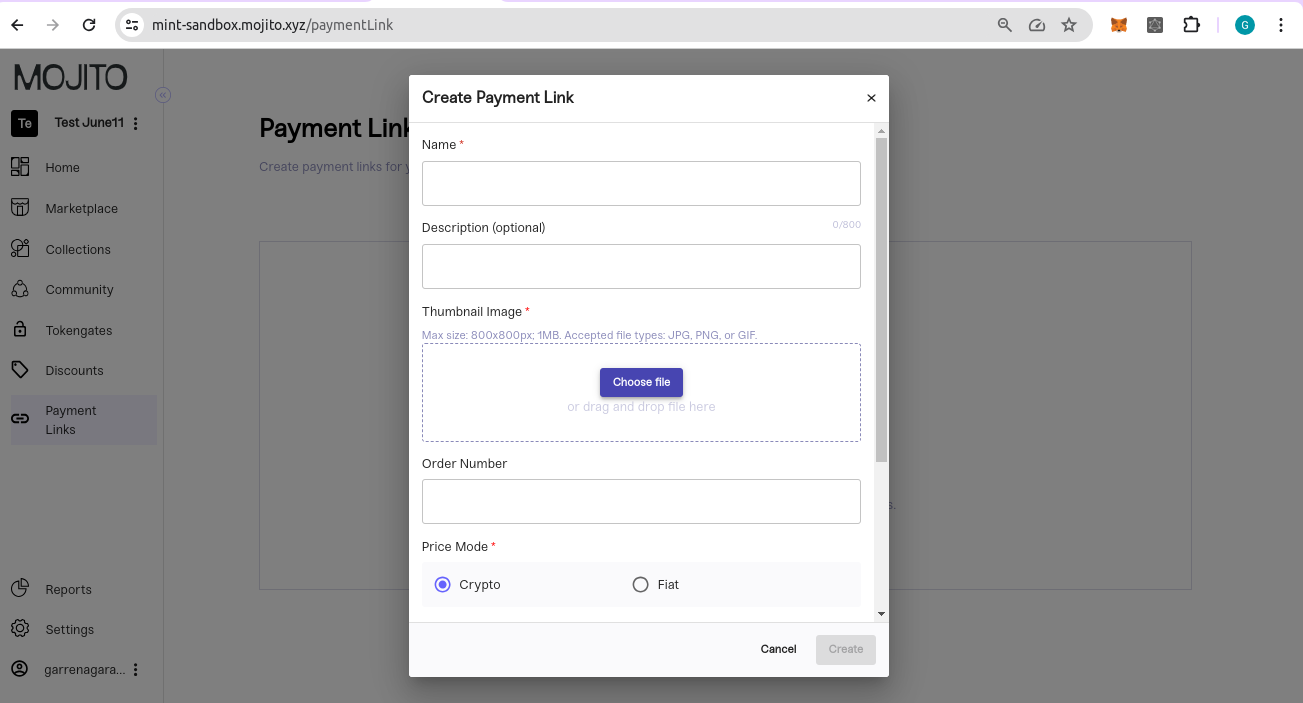
Order Number: This field is used to assign a unique identifier to the order. It helps in tracking and managing orders effectively, especially in scenarios where multiple orders are processed simultaneously.
Price Mode: Certainly! When dealing with both cryptocurrency (crypto) and fiat currency, the price mode may operate slightly differently:
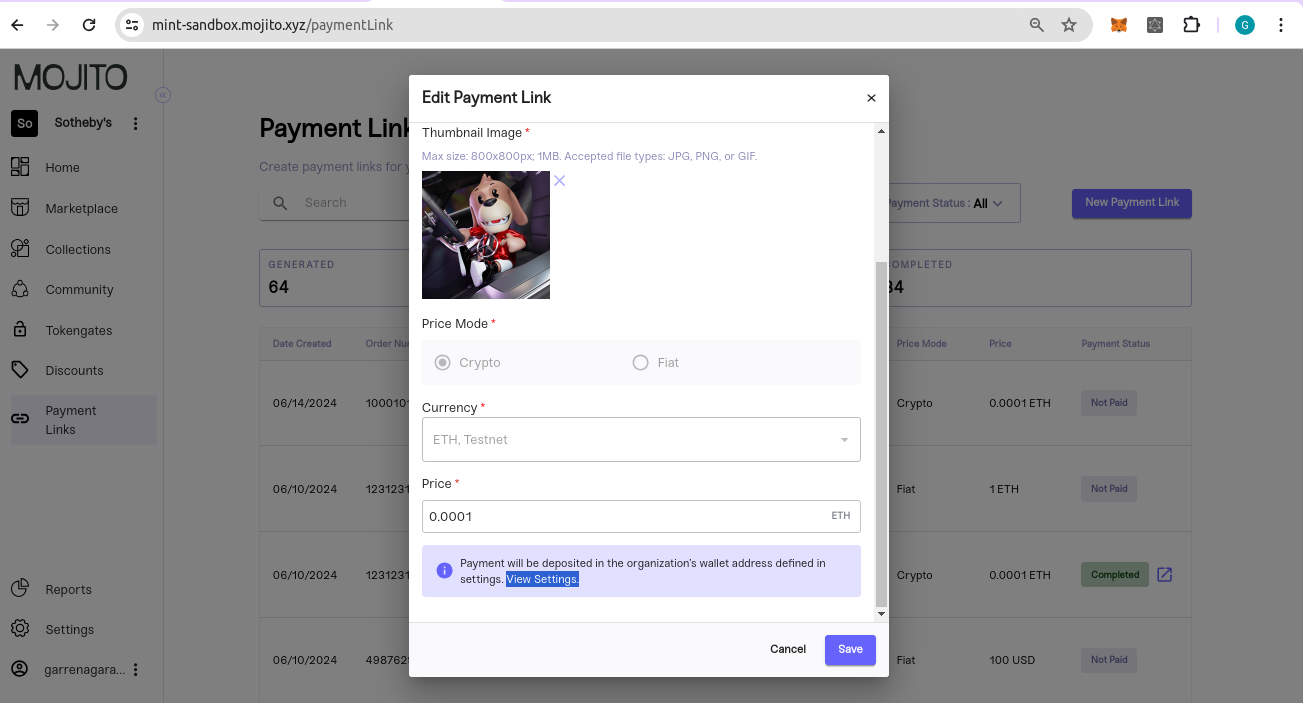
Crypto- you can set a fixed price for your product or service, denominated in a specific cryptocurrency like Bitcoin (BTC), Ethereum (ETH), or others. The price remains constant, regardless of market fluctuations.
Fiat- the price remains constant and is typically denominated in a fiat currency such as USD. Customers will see the same price regardless of fluctuations in exchange rates or other factors.
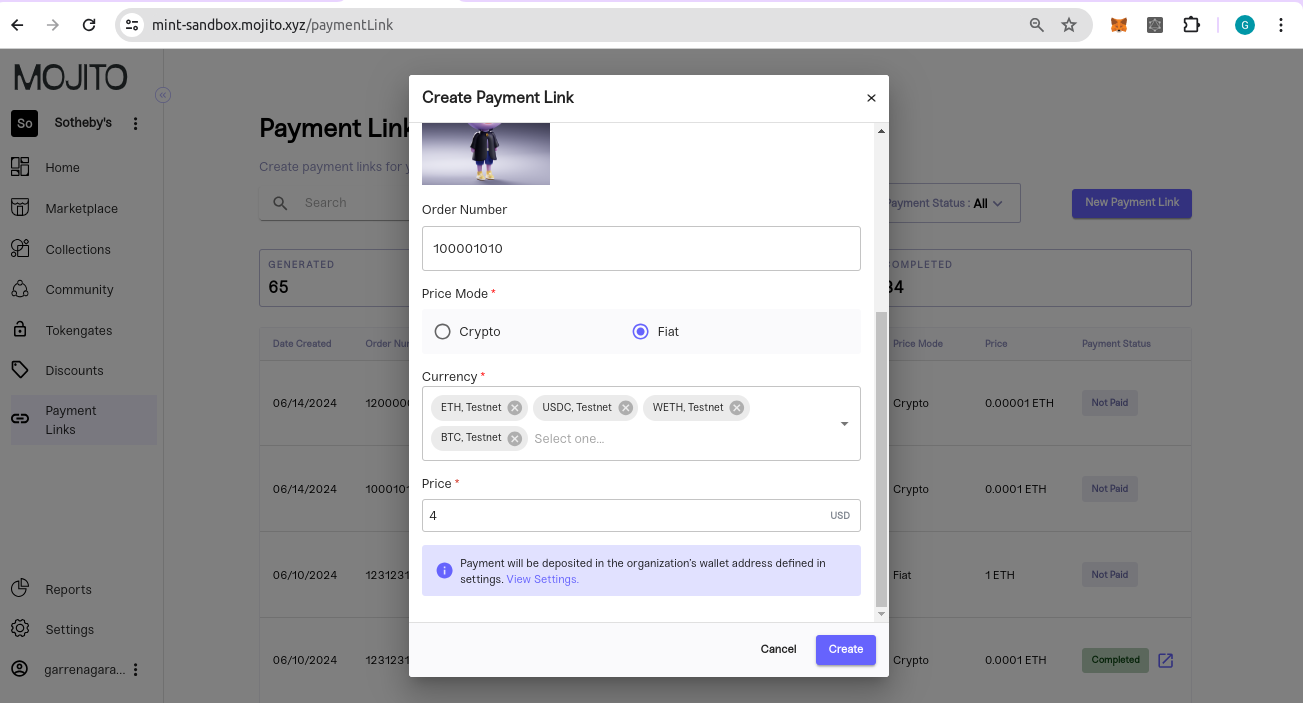
Currency: When dealing with currency dropdown options, particularly in the context of cryptocurrency, offering choices between testnet and mainnet. You can select multiple currencies.
Price: The price will be determined based on the currency selected.
By providing these details, you create a comprehensive payment link that includes all necessary information for both you and your customers.
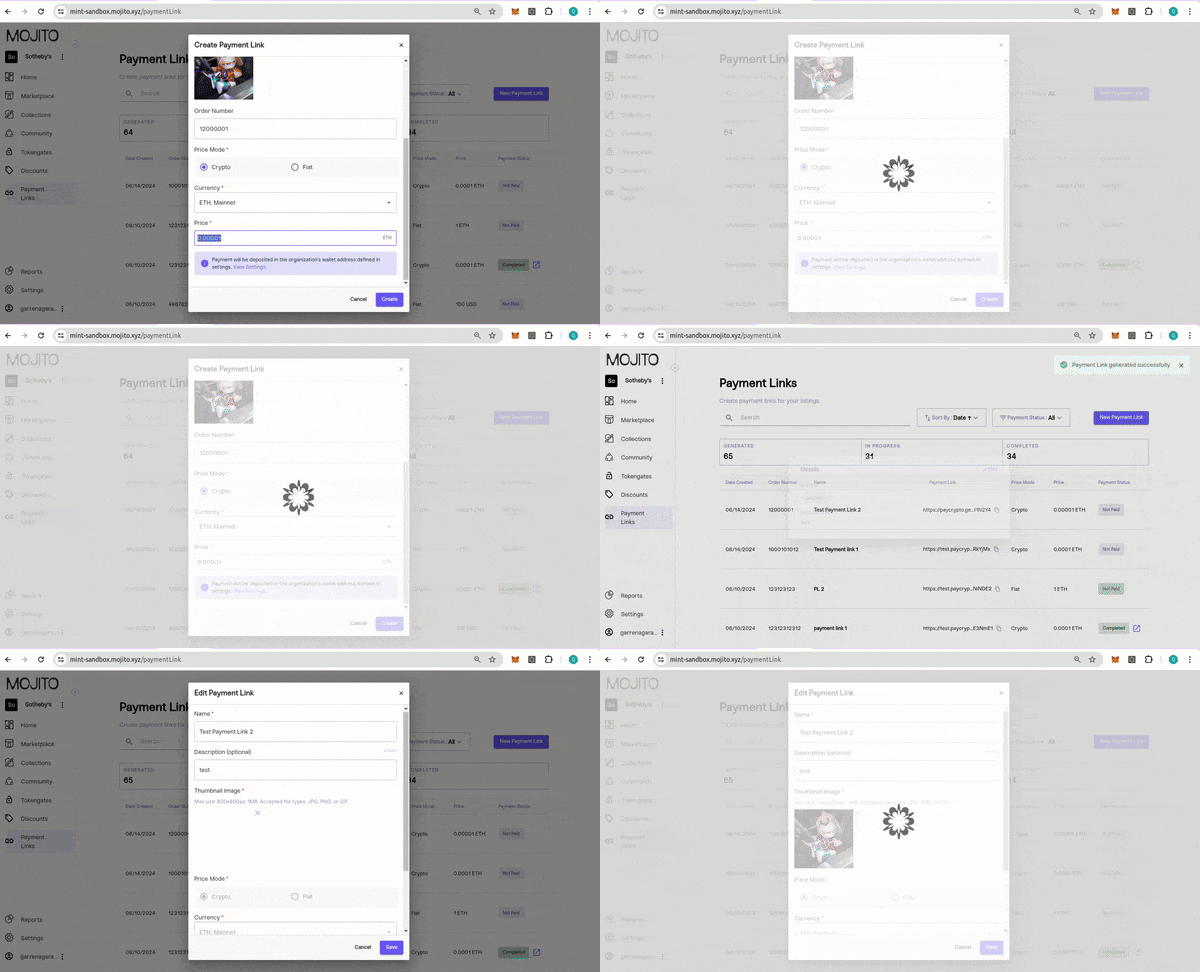
Step 3 After you've added all the information and tapped on 'Create', the payment link will be added, and it will display at the top.
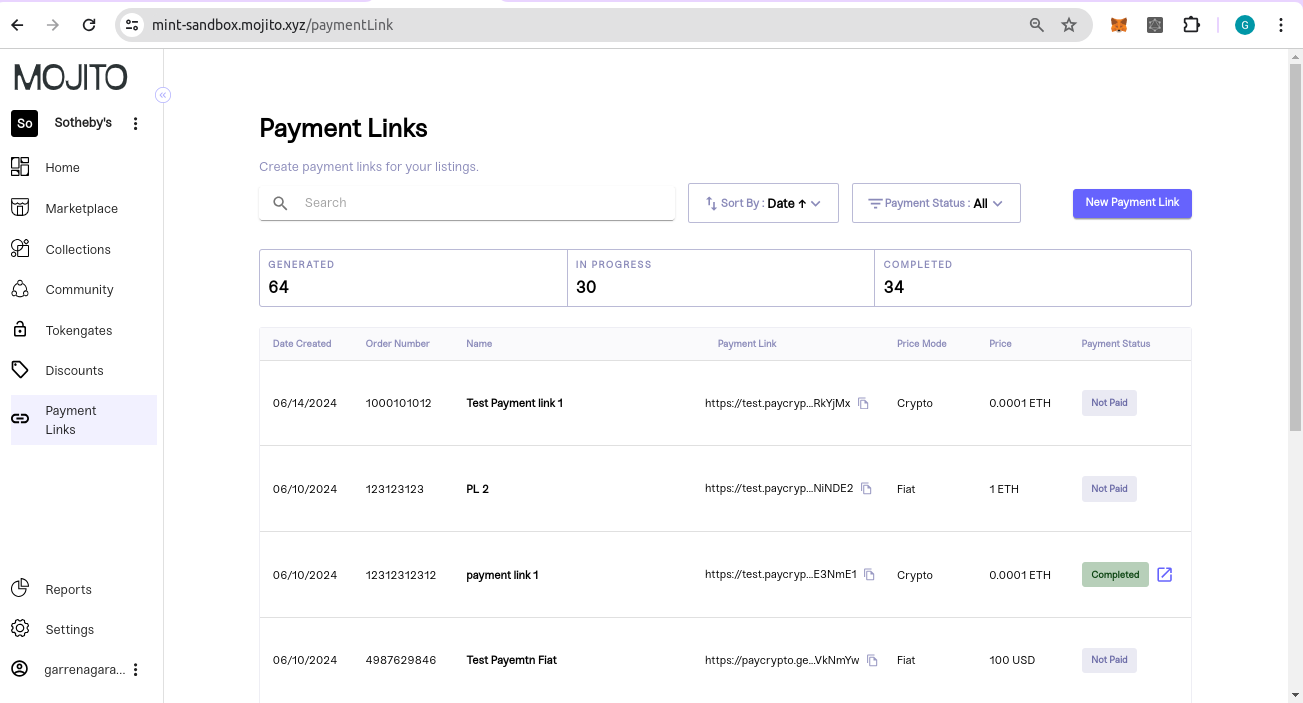
Step 4 If you tap on the name from the list, a popup will open displaying all the details.
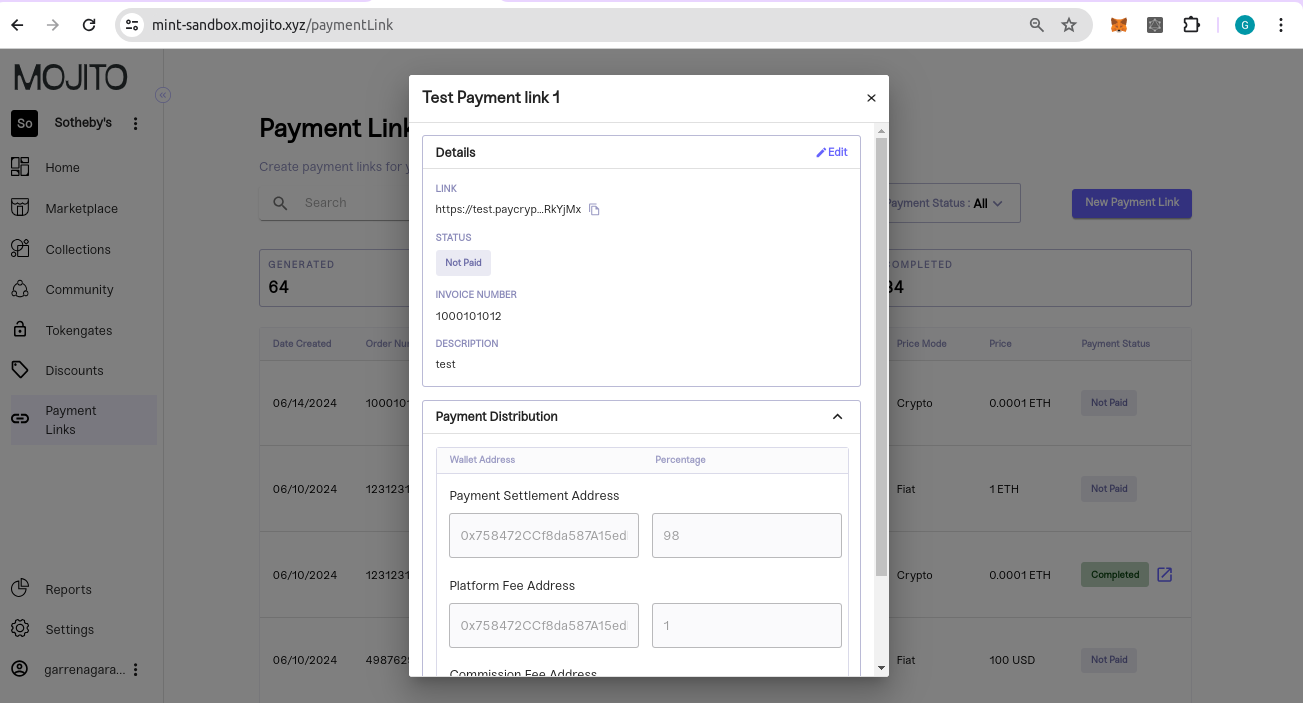
Step 5 You can even edit the payment link details by tapping on edit button
Step 6 if you want to change the wallet setting, you can tap on view setting that will redirect to payment link wallet page
Please find the video below demonstrating how to create and edit payment links.
Updated 8 months ago
